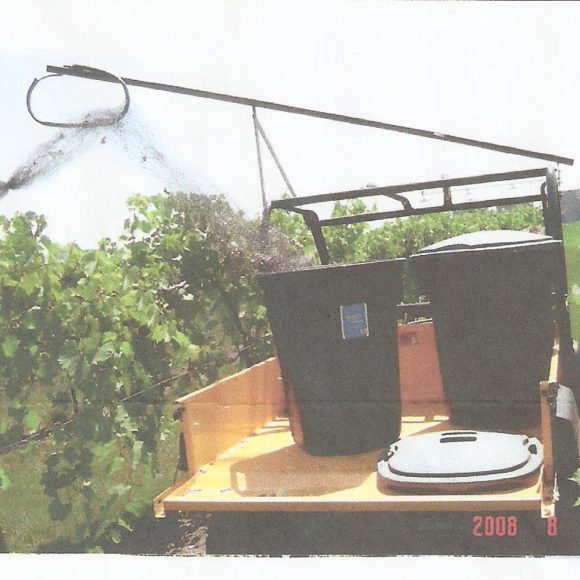
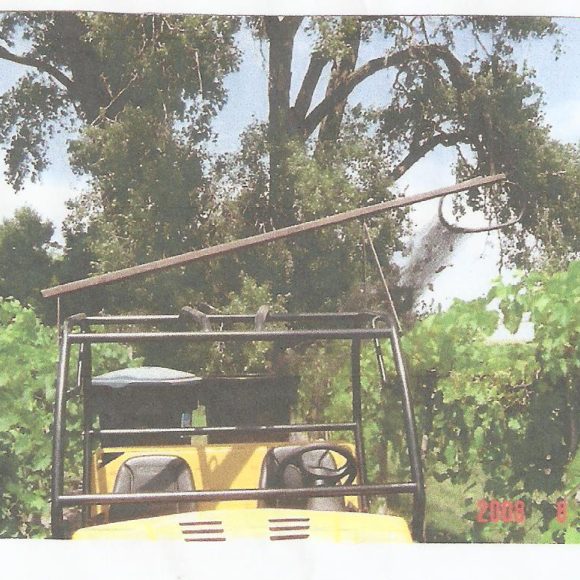
Installation and Removal of Woven Bird Netting
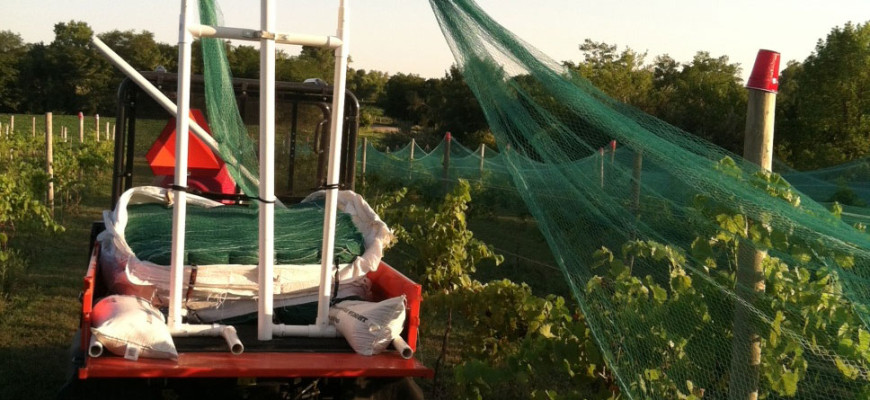
View our full line of vineyard bird netting products.
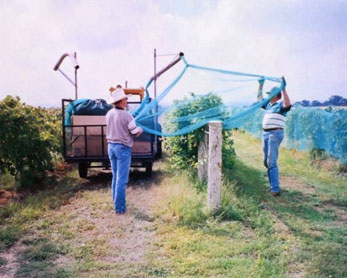
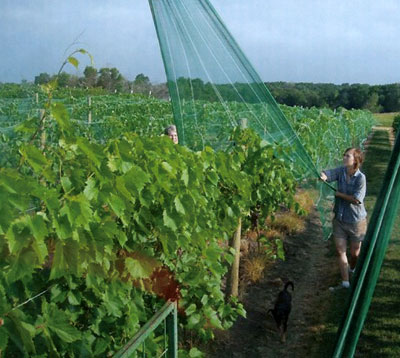
Woven Bird Netting
Photos courtesy of Ellen Burdick, Lewellen, NE
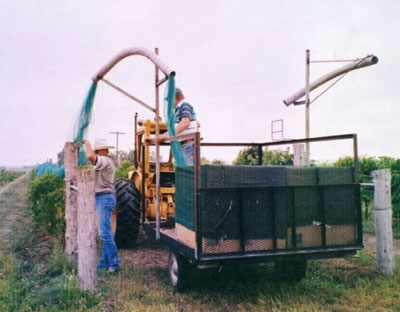
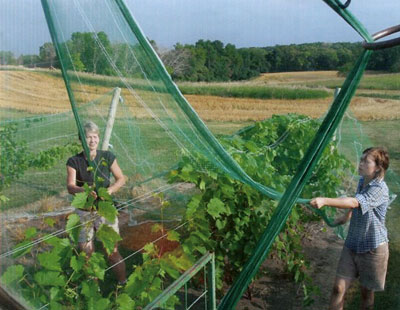
InterNet Netting Setup
Woven Bird Netting Setup and Installation
Photos courtesy of the Jon Roisen Family, Dawson, MN
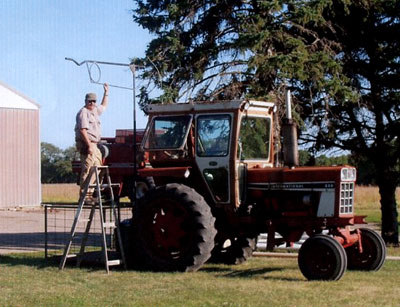
Installing White Bird Netting
Photos courtesy of Steve White in NE
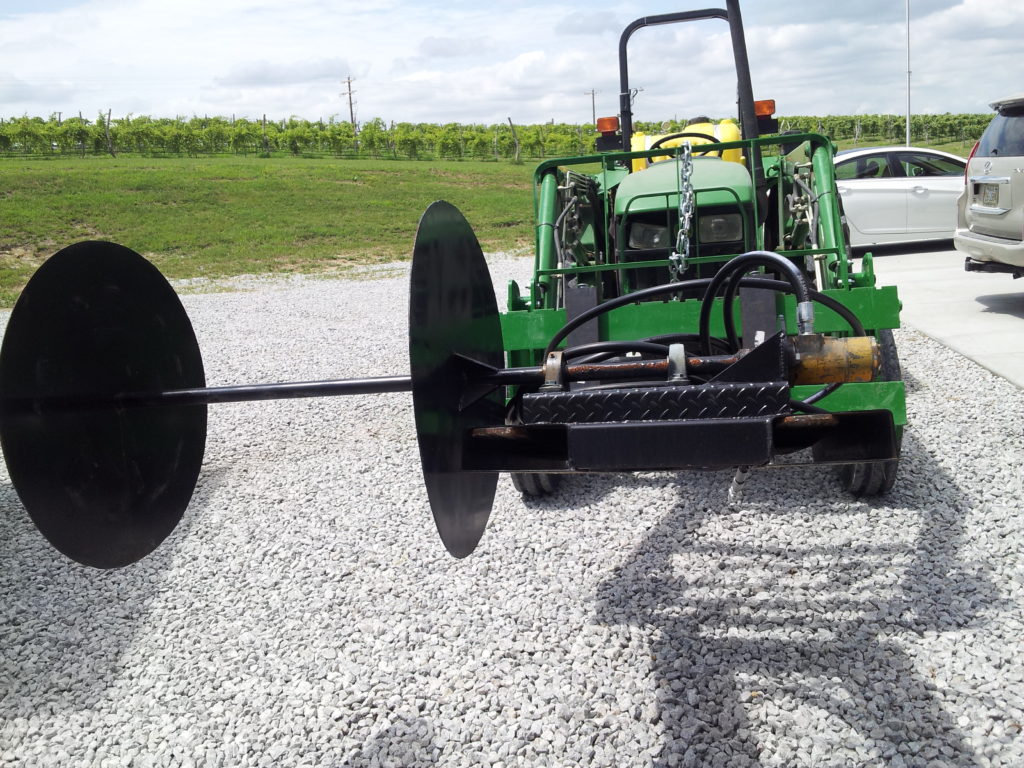
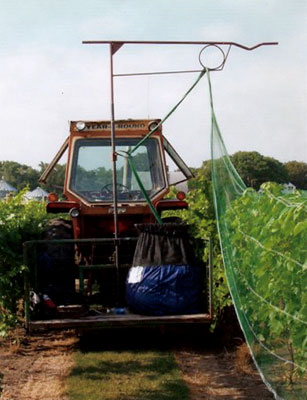
Photos courtesy of Junto Winery, Seward, NE – Net Winder Installed
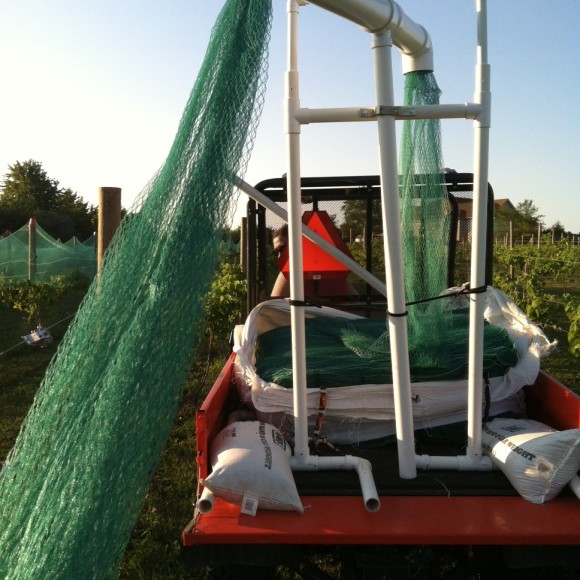
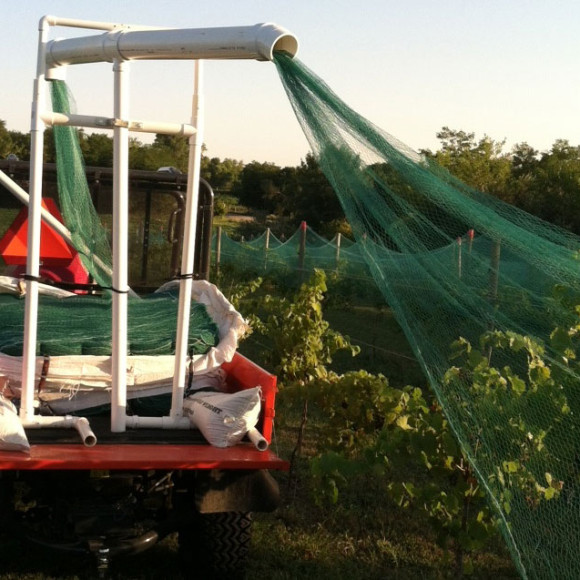
Photos courtesy of Duane Krause – Gator Application
pH Tester Care

Be sure to check out our full line of phTester products
Before You Begin:
Remove electrode cap. To condition electrode, immerse electrode in electrode storage solution, buffer or tap water for at least 30 minutes. Do Not use de-ionized water.
Calibration:
Calibration should be done regularly, typically every day that the Tester is used. You can calibrate at up to three points (ph 4,7, an 10).
1. Press on/off button to switch unit on.
2. Dip electrode 1/2 to 1” into chosen buffer (ph 4,7, or 10).
3. Press CAL button to enter Calibrate (CA) mode. ‘CA’ Flashes on the display. Then, a pH value close to the pH buffer value will flash repeatedly.
4. After at least 30 seconds (about 30 flashes) press the hold/con button to confirm calibration. The display will show ‘CO’ and then switch to the buffer value reading.
5. Repeat with other buffers if necessary. Rinse electrode in tap water before dipping into next buffer.
Calibration troubleshooting:
Failure to press hold/con to confirm calibration (step 4 above). Pressing the CAL button will resume measuring mode but will not enter the calibration value.
Insufficient sampling time. If the Tester does not have a long enough exposure to the buffer, a stable calibration point will not be reached. Wait at least 30 seconds before pressing Hold/Con.
Failure to rehydrate the electrode. A dry electrode will give fluctuating readings while it re-hydrates in a buffer, causing errors.
pH Testing:
1. Remove cap from the electrode and press the on/off button to switch Tester on.
2. Dip the electrode 1/2 to 1” into the test solution. Stir once and let the reading stabilize.
3. Note the pH or press Hold/Con button to freeze the reading. Press Hold/Con again to release the reading.
4. Press on/off to turn off Tester. If you do not press a button for 8.5 minutes the Tester will automatically shut off to conserve batteries.
Instrument Maintenance:
- Rinse the electrode with tap water or electrode storage solution after each measurement.
- In aggressive chemicals, dirty or viscous solution, and solutions with heavy metals or proteins, take readings quickly and rinse electrode immediately afterward.
- Periodic soaks in warm pH 4 buffer will help remove contaminants.
- If possible, keep a small piece of paper or sponge in the electrode cap- moistened with clean water or electrode storage solution (not de-ionized water)- and close the cap over the electrode.
Note: Tester life is dependent on meter and electrode care. If the electrode is exposed to materials that contaminate the reference junction, electrode life will be shortened.
When you need a new electrode, see “Electrode Replacement” on insert in back of box – follow link to order online.
Frequently Asked Questions About Bird Gard
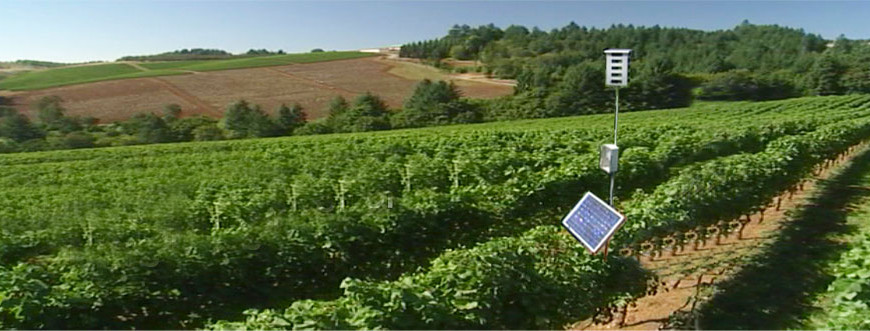
View our full line of Bird Gard products
Bird Gard and Crop Management Instructions
Acoustical bird hazing is a proven method of stressing or harassing birds away from a crop, food source or habitat. Most of our bird repelling systems are “species specific.” To obtain maximum control, our growers have found that by using a random sound mixture of harassment, distress and alarm calls, excellent results have been attained. Active management control and understanding bird habits is the key to success.
For best results:
- Install the Bird Gard/Crop Gard unit Well before the crop begins to change color and birds are attracted. This creates a “KEEP OUT” area for most pests prior to harvest.
- Remember that most birds feed from the outside perimeter of a crop and use tree cover to roost in and for observation. Place speakers 15-50 feet inside crop pointing OUTWARDS whenever possible.
- Mount speakers at least three (3) feet above tree or crop levels for maximum coverage. Sound will disperse or reflect off solid barriers or thick brush. Mount control unit out of direct sun, if possible.
- When first installed, run the Bird Gard/Crop Gard units at FULL volume and on SHORT/MEDIUM time off periods. This ensures “pest stress” and “harassment”.
- Watch and be aware of bird habits and their reactions. Check flight paths and readjust speaker locations accordingly. Check power source and unit settings often to insure continuous bird hazing. Be certain that the system is not turned OFF during crucial times.
- Remember that the Bird Gard/Crop Gard system is a management tool. Effective results depend on your awareness of the local environment and attention to the system.
Be aware that under some situations of extreme drought or other adverse conditions, the pressure on the bird becomes so great that survival overrules any deterrent. - Robins spend most of their time on the ground, and may start to ignore bird scare placed above the crop. For them, also place some audio and visual scare near the ground (3-5 feet).
- Play all bird cries, at least at first. Otherwise, intervals between cries may be too long. This also acts as harassment. Always have at least one predator cry on with the other birds.
Frequently Asked Questions
Are the sounds output by the unit audible or loud?
Bird Gard products incorporate actual bird distress cries that are digitally recorded on a microchip. The distress cries are quite audible to humans. They sound like birds chirping. Each product is equipped with a volume control dial so that the sound can be adjusted for maximum effectiveness in the desired area of coverage and for user and neighbor comfort.
How do Bird Gard products work?
Bird Gard products use prerecorded actual bird distress sounds as well as predator or raptor alarms or calls to effectively repel birds. These sounds are digitally mastered using the highest quality microchips available. After sounds are recorded onto microchips, then those sounds are then amplified and broadcast using several size units covering areas from 1 1/2 to 40 acres in size.
Is the unit effective on pigeons, doves swallows and sparrows?
We have not been successful with pigeons, doves, swallows or sparrows, although we have had marginal success with the house sparrow (English sparrow).
Will the sounds affect domestic animals or livestock?
No animals are harmed by the Bird Gard sounds. Most domestic animals and livestock quickly get used to the sounds and are not negatively impacted.
Is the unit weatherproof or weather-resistant?
Bird Gard and Crop Gard products are designed for outdoor use and are completely weatherproof (with the exception of severe winds, tornados, etc.).
How long until results are evident?
The length of time may vary, but typically the birds will leave the area within 14 days. In most cases, you will see results very quickly. Fruit growers will need to have the unit in operation a few weeks before their crop begins to ripen.
Do the birds become accustomed to the sounds?
Bird Gard and Crop Gard products use a microprocessor the randomly emits the sounds in completely unpredictable patterns and at random time intervals. This keeps the birds from acclimating to the sounds.
What species of birds will the unit repel?
The units come in many recording configurations. The standard (Agricultural) version includes the distress cries of the starling, robin, house finch, common grackle, ring-billed gull, blue jay, red-winged blackbird and the predator cry of the sharp-shinned hawk. The Marine version includes the distress cries of the laughing gull, rig-billed gull, herring gull, black-headed gull, California gull, glaucous-winged gull, double-crested cormorant and the predator cry of the marsh hawk. We have a large library of recorded birdcalls and are always adding more. Many custom combinations are available upon request. Please check with our customer service department to see if we can help solve your specific bird control problem.
Where should I place my unit for maximum effectiveness?
The unit needs to face the area that is affected, and usually the unit is mounted on an wooden post or metal pole at a height of 4 to 6 feet above ground level. For an agricultural setting, the unit should be placed 2 to 3 feet above the level of the crop. With crops that grow fairly high, some speakers may need to be lowered so that sound is also protecting the area under the tree canopy.
How would I determine the species that is causing problems for me?
You may want to contact your local library, University Extension Service, Fish and Wildlife Agencies or a local chapter of the Audubon Society. One of these resources should be able to help you identify your bird species. Often, talking to your neighbors is helpful, too.
What about extreme temperatures?
The units will operate normal between 32 and 110 F.

